Step 1 – System initialization #
System initialization starts when you click on the link for your system in the ems welcome email for the first time (1). After initialization, clicking on this link will take you directly to the login screen of your ems system.
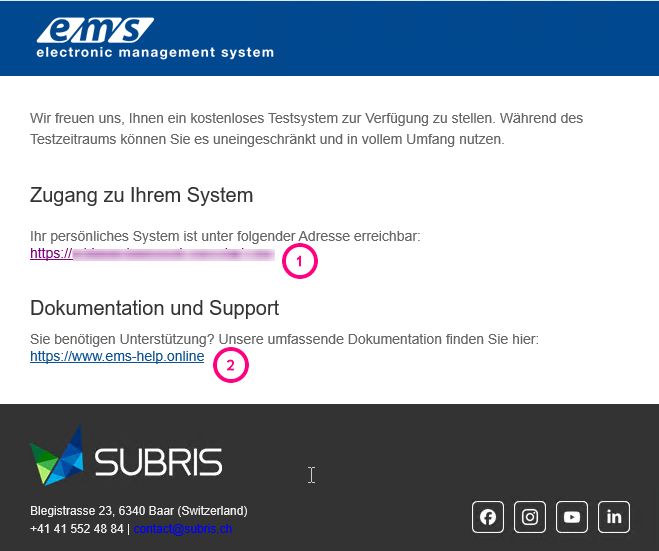
The welcome e-mail also contains a link to the help page with detailed instructions for use (2).
In the initialization wizard that opens, fields with basic information for your system are filled in:
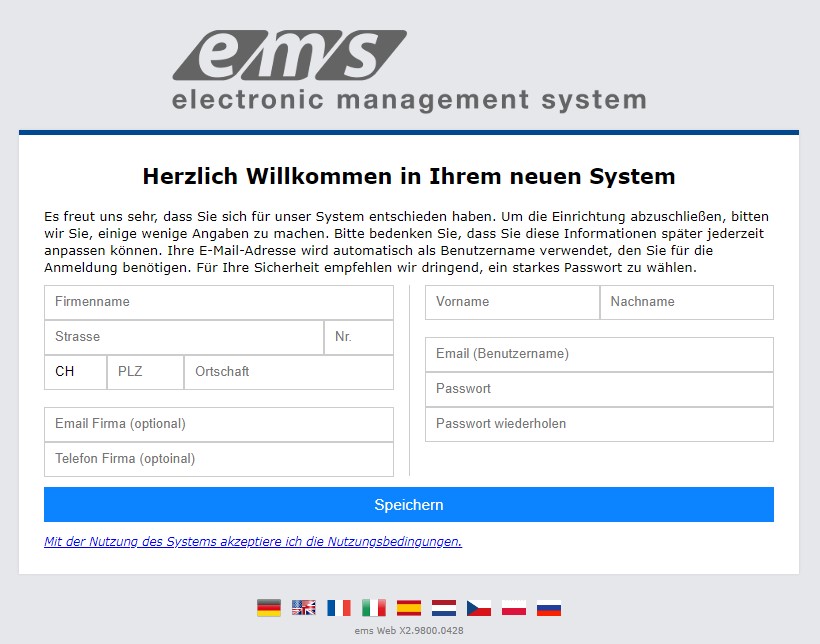
Your e-mail address will be used as the user name you need to log in.
The optional e-mail address and telephone number are stored as company data.
By clicking on Save, the data is checked for correctness and, if correct, saved.
After initialization, the login screen of your system opens. Log in to the system with the data you entered during initialization.

Step 2 – Employee assistant #
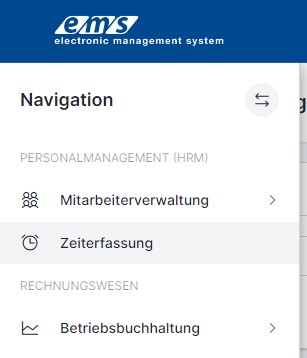
During initialization, the person creating the system was stored as an employee. Additional employees can be entered using the employee wizard. In the left-hand navigation bar, click on Employee administration → Employee list.
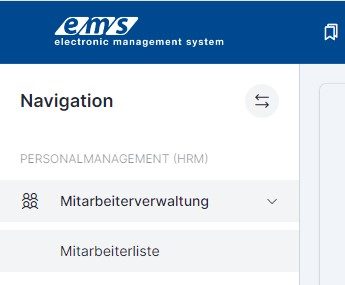
The personnel assistant enables you to record department and employee data.
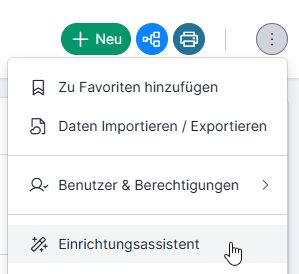
If the wizard is not displayed, it can be opened via the three-dot menu at the top right.

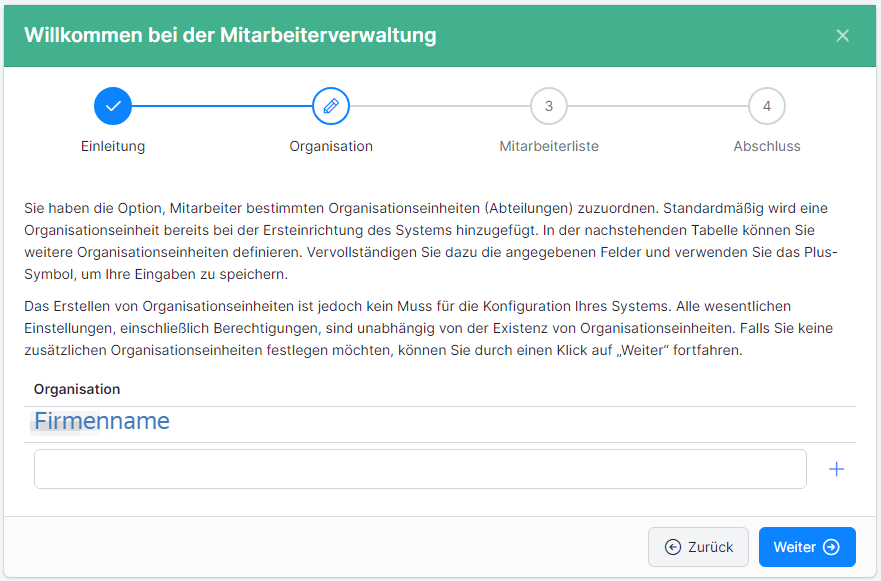
Screen 2 (Organization) – Enter the departments of the company (not mandatory if available): Enter department, click on plus
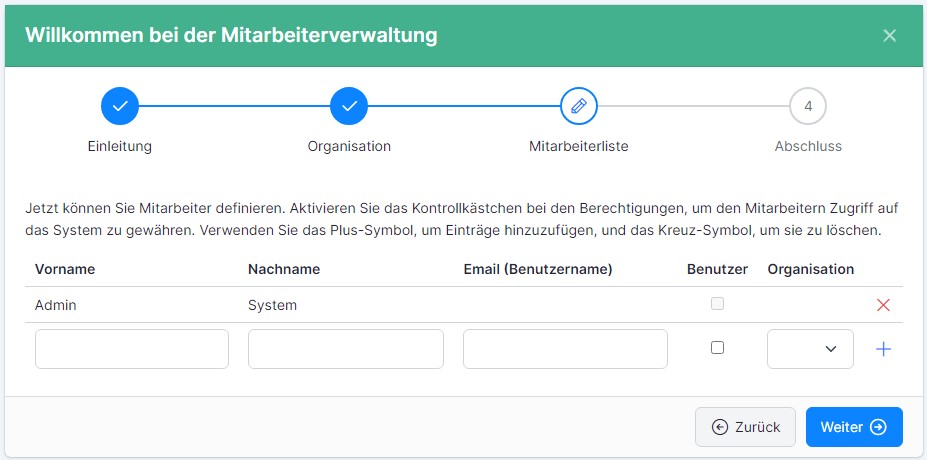
Screen 3 (Employee list) – Enter employees and click on Plus
- First name, last name
- E-mail (if entered, it will serve as the user name; the invitation e-mail with login will be sent to this e-mail address. If no e-mail address is entered, the user name will be created as firstname.surname)
- User (is ticked if the employee will use the system themselves)
- Organization (selected from the departments created in the previous screen)
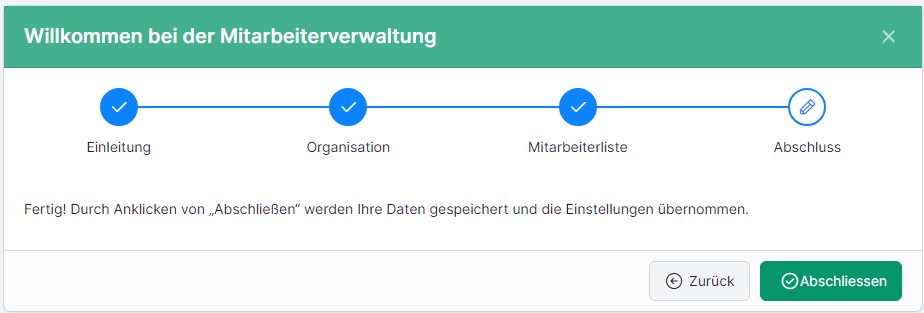
After exiting the employee wizard, the employee list you created will appear. Next, you can start the time recording wizard (if you have activated the time recording license).
Step 3 – Time recording assistant* #
*This wizard is currently only available for customers who have selected the time recording module.
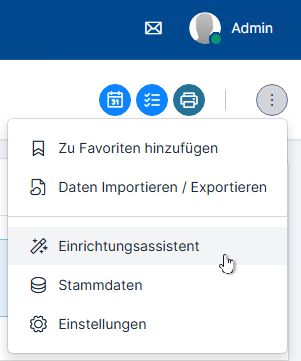
To start the time recording wizard, click on Time recording in the left-hand navigation bar.
If the wizard is not displayed, it can be opened via the three-dot menu at the top right.
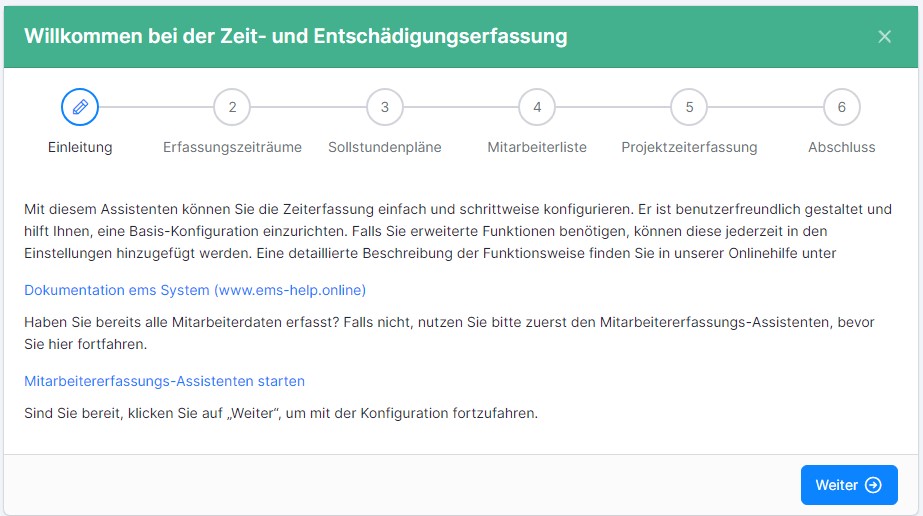
Basic settings for time recording are specified in the time recording wizard that opens.
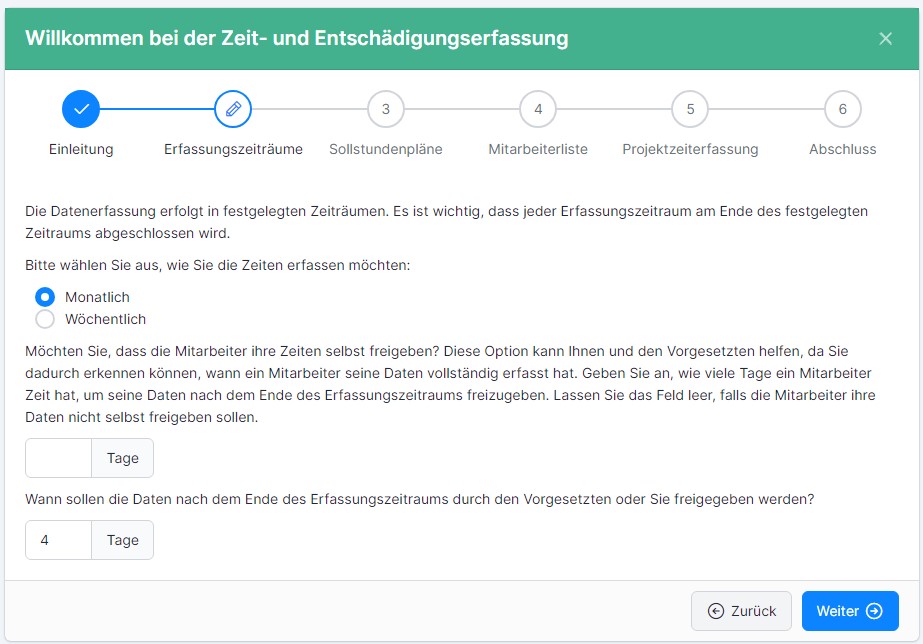
In screen 2 (recording periods), the time interval at which time recording is completed/released is selected: monthly or weekly. Here you also specify how many days after the recording period the employees have to check their own time and expense recording, as well as the supervisors who check it.
The timetables for the employees are stored in screen 3 (target timetables). A schedule for 100% full-time work must be entered as the basic target work schedule.
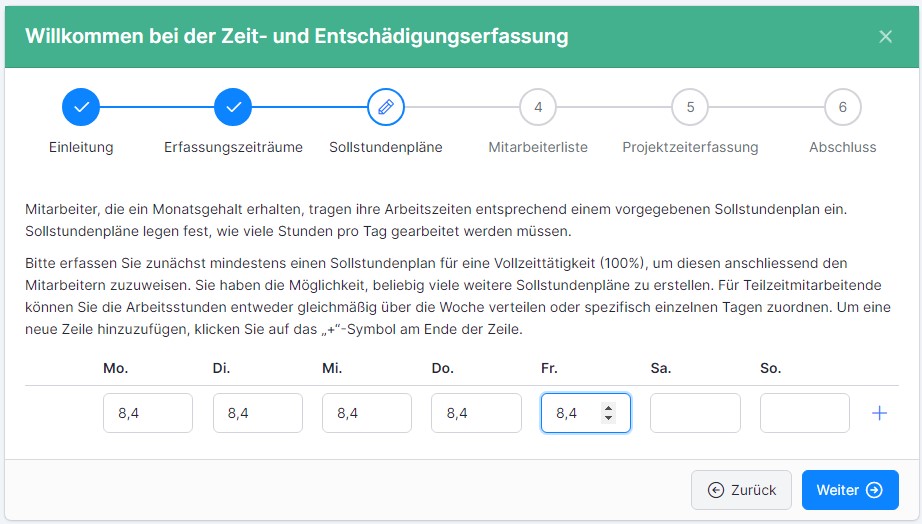
The 100% plan is used as the basis for calculating the percentage of other target hour plans.

After entering the target hours during the week and clicking on Plus (Add), the system calculates the degree of employment.

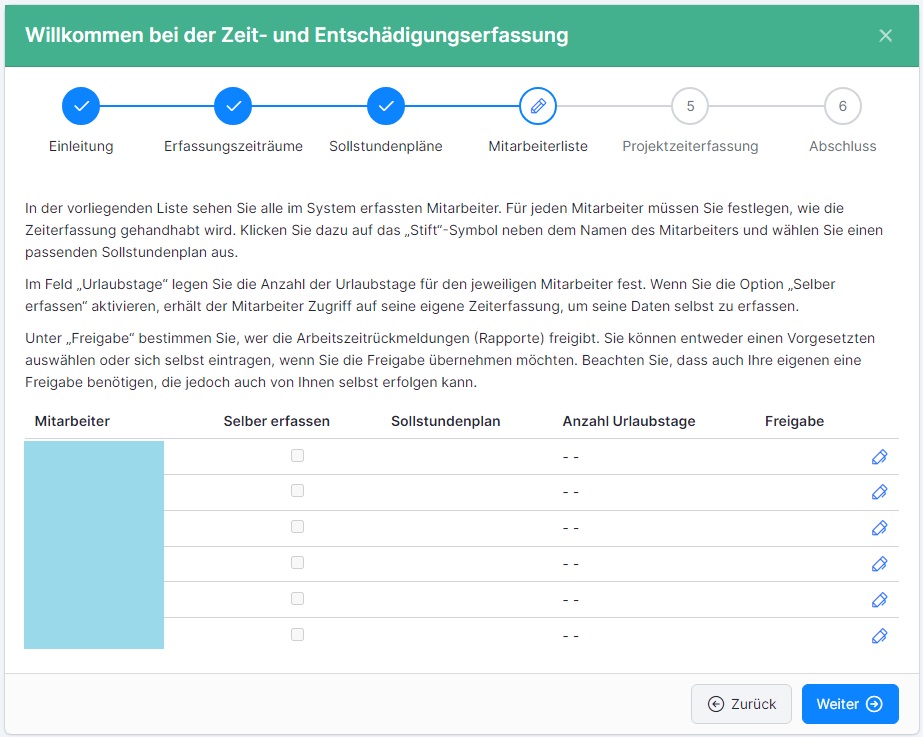
In the next screen 4 (Employee list), the following settings are defined for the employees:
- Self-recording – When employees are allowed to record their own time
- Target timetable – One of the timetables stored in the previous screen is selected
- Number of vacation days – annual vacation entitlement (the vacation entitlements entered here are calculated automatically. You do not need to calculate how many days the employee is entitled to if they join/leave during the year – the system does this for you). You can find more information on this in the following article: Time credits (vacation, flexitime)
- Release – Who will release this employee’s time and expense report? More about the release of time recording reports: Release of employee reports
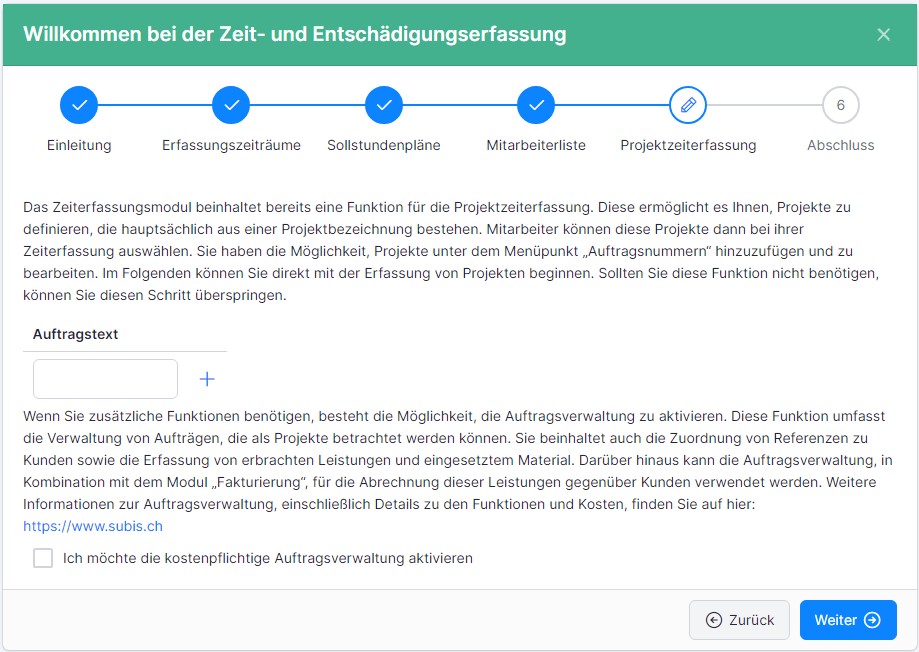
If you want to record times and expenses on a project basis, you can list the projects here. In this case, no complete projects / orders are recorded, only their names. To manage the orders (order data, recording of materials used and services rendered and much more), activate order management (subject to a charge) by ticking the checkbox below.

After completing the wizard, you can start time recording.
Step 4 – Store authentications #
Read here how authentications (fingerprints, face scans, transponders, PINs, logins) are stored and managed in the ems system: Storing authentications in the ems system
Step 5 – Time recording #
After the previous steps, the time recording can be used. You can find out more here: ems time recording
How to handle employee profiles is described here: ems employee administration