ems Mobile vs. ems Web #
ems Mobile is the web application of the ems system that is optimized for use on smartphones and tablets. It contains the most important functions and has been developed for use on the move.
If you work on desktop computers, use ems Web: Basic operation ems Web
Installation ems Mobile #
To install ems Mobile on your smartphone / tablet, enter the URL of your ems system in the browser.
Each system has its own URL, which you will receive with your login details. Or if you have access to ems Web, you can find this via User menu → My account → ems Mobile (app). Here you will also find the QR code – if you scan it, you will be redirected to your ems system.
You can find detailed video instructions in the following help report: ems Mobile on the smartphone
Please note that all systems operated by us are always accessible viahttps://(not http://)!
Registration #
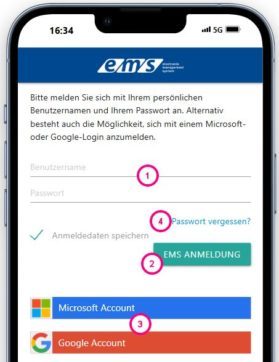
After installing ems Mobile on your smartphone, log in with your user name and password (1+2) or with a Microsoft or Google account (3).
There are basically two ways to log in to the ems mobile app:
- ems Login (classic login)
- Login with Google or Microsoft
Registration with ems Login #
This is the classic access with a user name (e-mail address) and a password of your choice. This access is independent of external providers and is managed entirely via the ems platform.
When the system administrator creates the login, you will receive an info e-mail with a link. When you click on this link, you will be redirected to the login screen. If the login was created with the option “Change password on first login”, you will be asked to register the new password when you log in for the first time.
Now enter your ems user name and password in the login screen. Then click on ems Login. You will be logged in with your user name.
Sign in with Microsoft / Google Login #
With this option, you can log in directly via your existing Google or Microsoft account – without having to manage a separate password for ems. This simplifies the login process and increases security by using the existing authentication mechanisms of these providers.
When should I use Google or Microsoft Login?
- If you already use a Google or Microsoft account for work
- If you have centralized user management across your company
- If you do not want to remember several passwords
- If you would like to benefit from the enhanced security of these providers (e.g. two-factor authentication)
You can find out whether you have a Microsoft / Google account from your system administrator.
Please note: Logging in via Google / Microsoft is only possible if your ems user address matches the corresponding account.
To log in, click on Microsoft Account / Google Account and enter your Microsoft / Google access data in the next screen. Once you have successfully logged in to Microsoft / Google, you must give your consent once for the ems system to access your profile data. At the end, you will be automatically redirected back to the ems system.
Reset password #
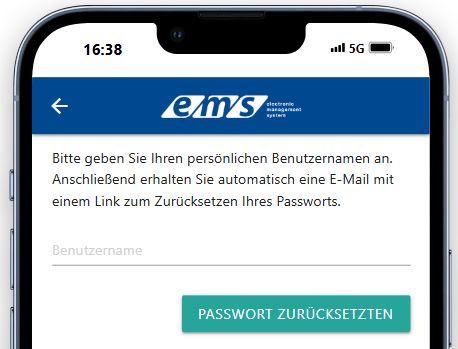
If you have forgotten your password, click on Forgot password? (4), enter your user name in the mask that appears, then click on the Reset password button. An e-mail will be sent to your e-mail address. Click on the link in the e-mail. You will be redirected to the password reset screen. Enter your new password twice here and confirm with Save. Then log in with the user name and your new password.
Important! This option only applies to the ems login. If you have forgotten your Microsoft or Google password, you must request a reset via Microsoft or Google.
Navigation #
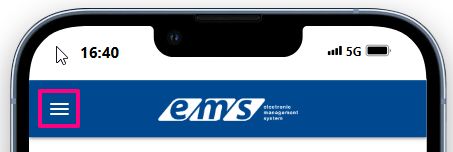
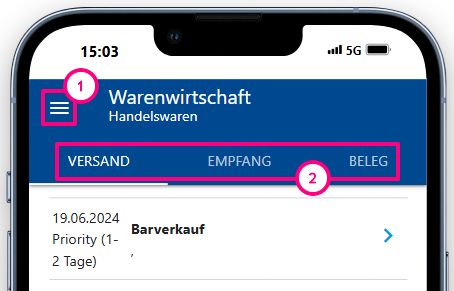
Click on the navigation menu:
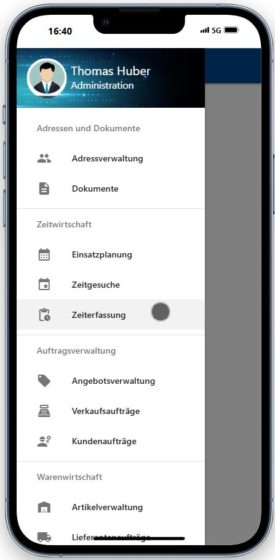
Select the desired menu area:
The view may differ depending on the menu area. You can then open the navigation menu again (1) and switch between individual tabs (2).
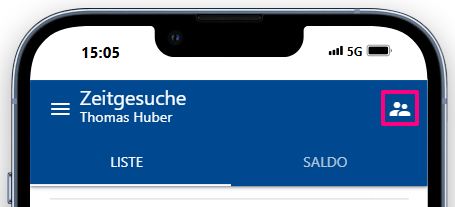
Depending on the menu area and the user authorizations, extended functions are displayed in the top right-hand corner (e.g. recording and editing times, time requests and assignments of other employees).
To view a data record, click on the arrow (1). The locked data records are marked with a lock (2).
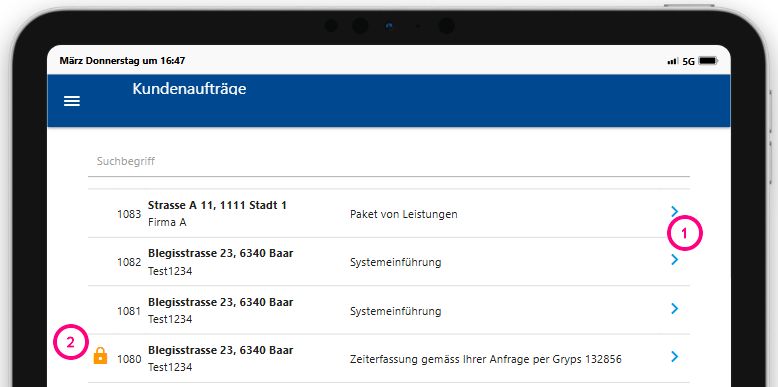
Completed / released data records have a green tick.

Functions #
Individual functions in the tab are displayed via the button below:
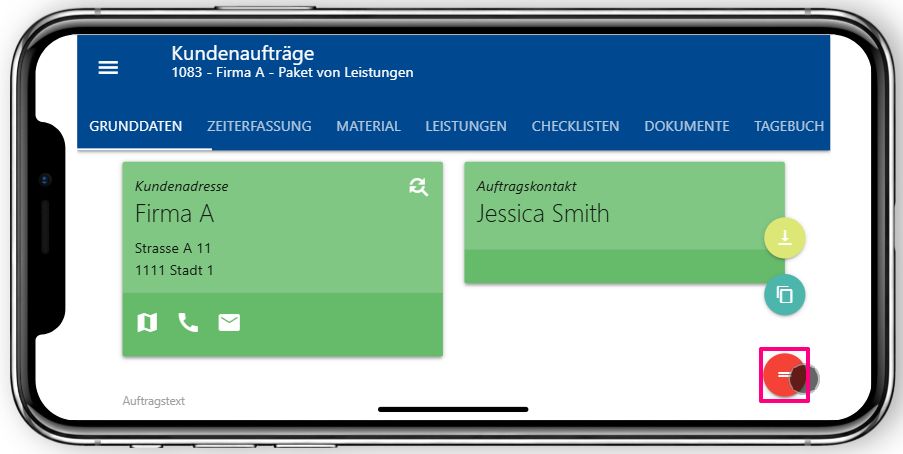
You can switch to ems Web via ems Web application (1).
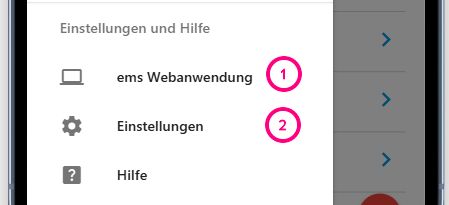
The language, POS system, warehouse account and printers can be stored under Settings (2).