For our customers who use the extended address management (independent “Address management” module) in ems, the customer hierarchies will now be continuously converted into customer networks. Up to now, all contacts could mainly be maintained and mapped in hierarchies. The existing option of displaying the relationships between individual contacts in the form of networks will be developed further and should replace the conventional hierarchies.
In a hierarchy, a customer can only ever have one superordinate relationship with another customer. In contrast, a network enables the formation of any number of relationships.
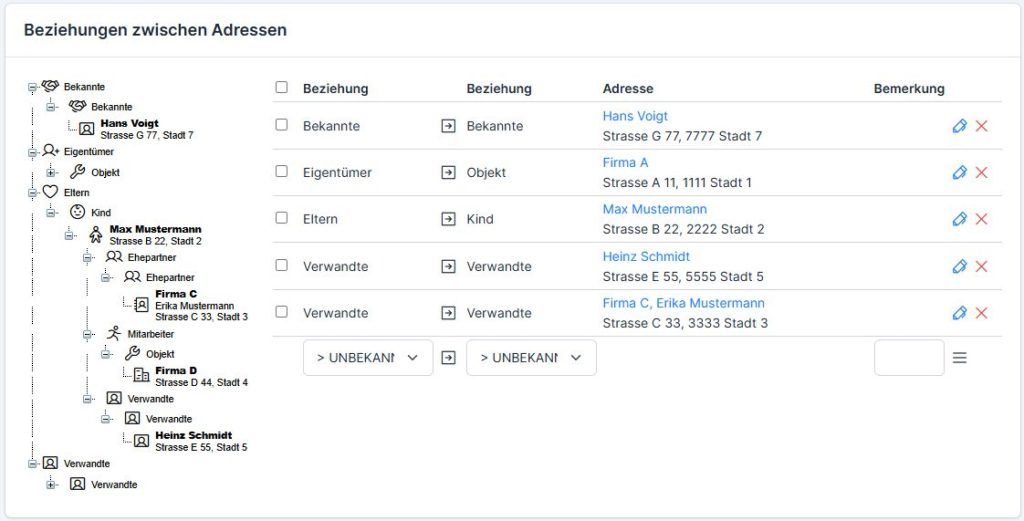
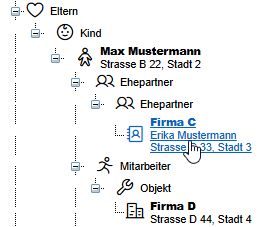
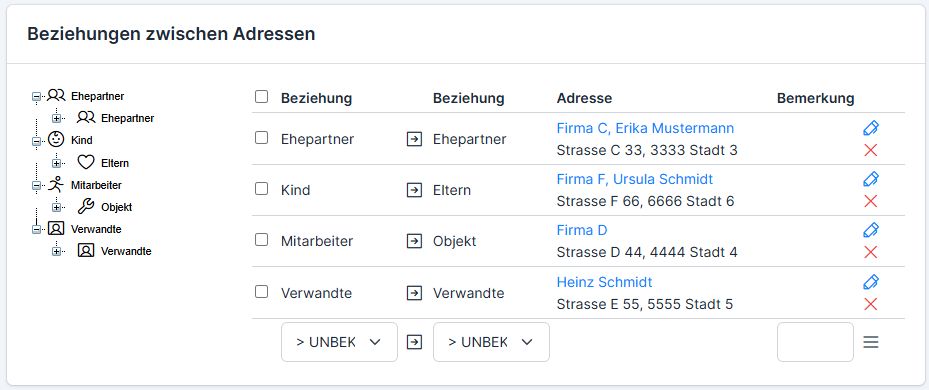
You can click on any contact in the network tree to open it.
Create new relationship #
Select the relationship types for the open address 1 (e.g. shareholder) and the address 2 to be linked (e.g. company), then use the three-bar menu to find the address 2 from the address book (customer address, supplier address or employee) or create a new customer address (+ New customer address or + New supplier address). You can leave a comment in the Comment field.
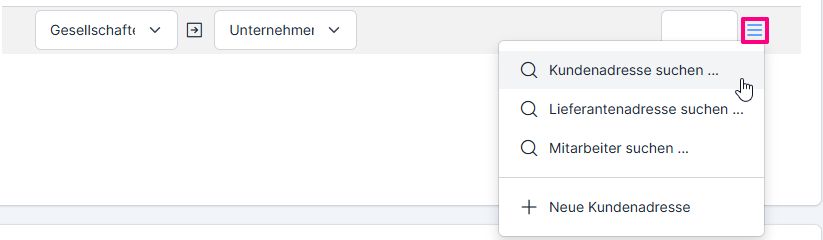
In the next screen, find the desired address and click on the arrow button.

If the relationship type has not been selected, the new contact is stored with the relationship “Unknown”. After saving the address, the relationship can be subsequently changed in the “Relationships” tab using the pencil button.
From now on, it will no longer be possible to create new hierarchies. Working with networks will become a mandatory requirement.
Display of customer addresses according to relationships #
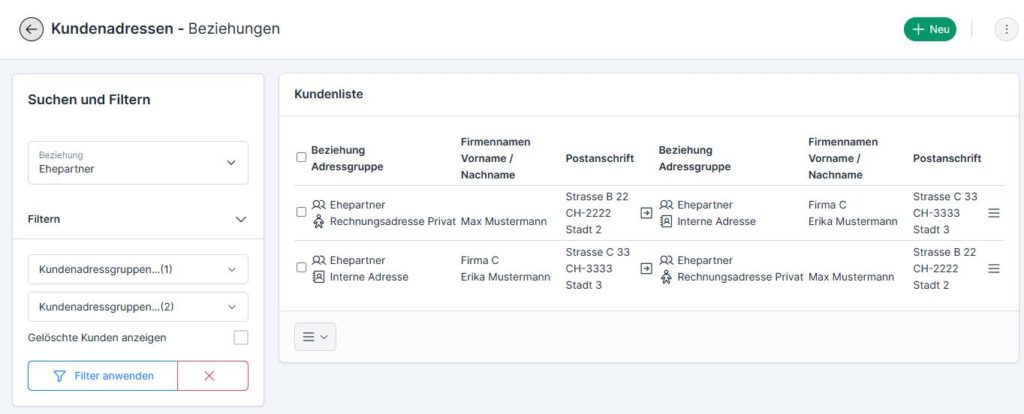
The relationship display has now been added to the customer address overview. Clicking on the relationship button opens the address list listed by relationship type.
In this view, all customer addresses are listed by relationship type and can be filtered by relationship and by 2 customer groups.
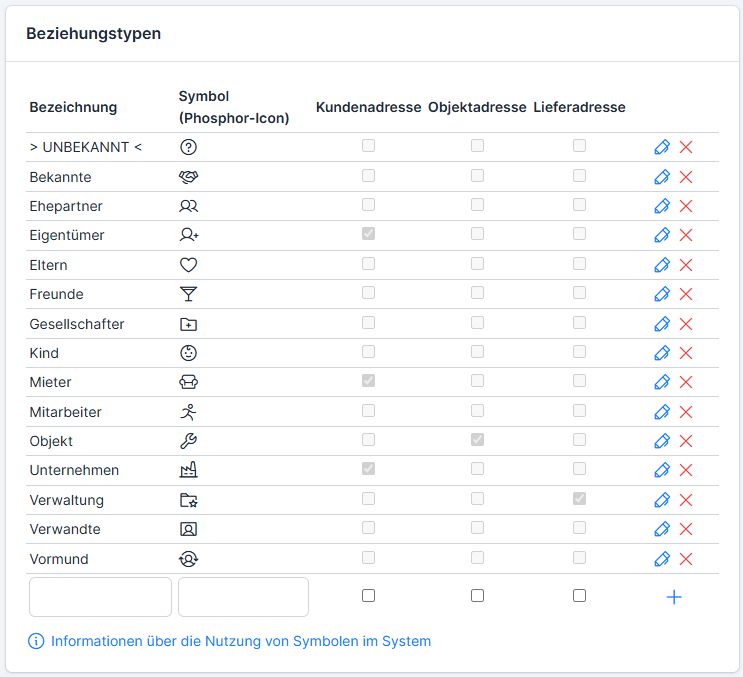
Manage relationship types #
The relationship types are managed in the settings.
Existing relationship types can be deleted and new ones added. The phosphor icon can be stored in the Symbol column – a symbol that appears in front of the address (more on this here: Images, logos and symbols (icons)), in further columns you tick the address groups for which the relationship type can be applied and click Plus to save.