Authorizations regulate what system users can see, record and mutate.
The necessary basic authorization roles are stored for each system when the system is created. However, new authorization roles can also be created.
It is important to select the necessary authorizations when creating a new employee profile. You can read more about this here: Create new employee profile.
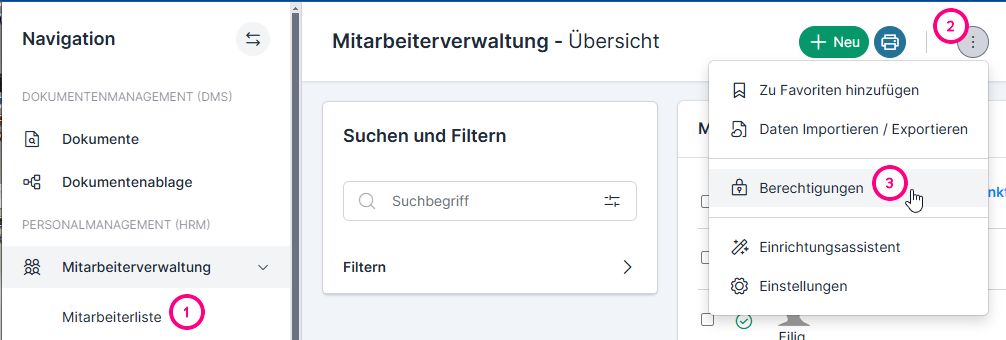
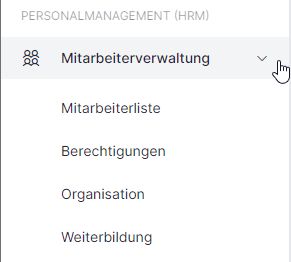
The authorization roles are managed via:

A distinction is now made between three types of authorization roles:
- for employees
- for customers (who are granted access to the system) – read more: Authorization roles for customers
- for suppliers (who receive access to the extranet) – read more: Authorization roles for suppliers
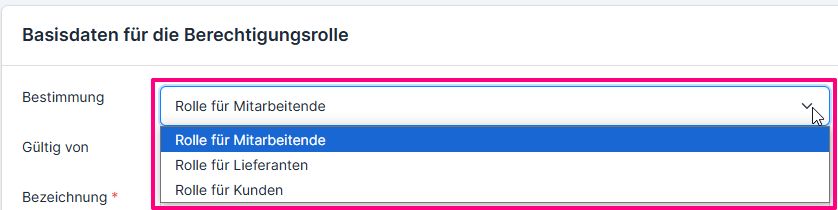
The role is defined when it is created. The accessible settings / authorizations vary depending on the definition.

- Enter the search term in the search field. The search settings can be used to select whether a full text search or a search by internal or external number should be carried out.
- It is possible to filter according to role definitions and types:
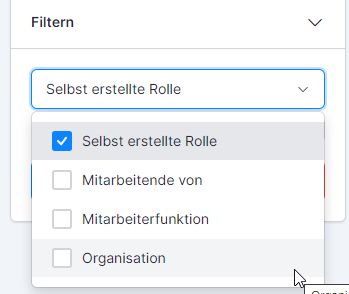
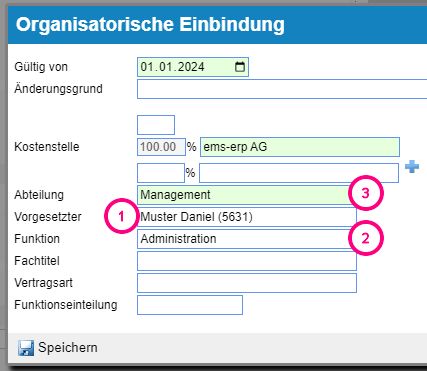
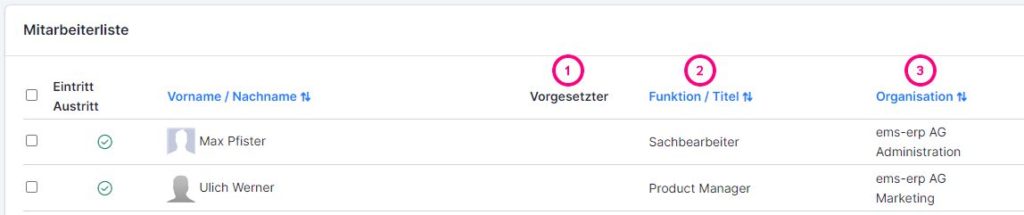
The roles employee of / supervisor (1), employee function (2) and organization / department (3) are automatically stored by the system when the employee is integrated (more information: Creating a new employee profile). Each time the integration is changed, the employee is assigned to the new roles.
The Show inactive authorization roles option makes the deleted and no longer active roles visible.
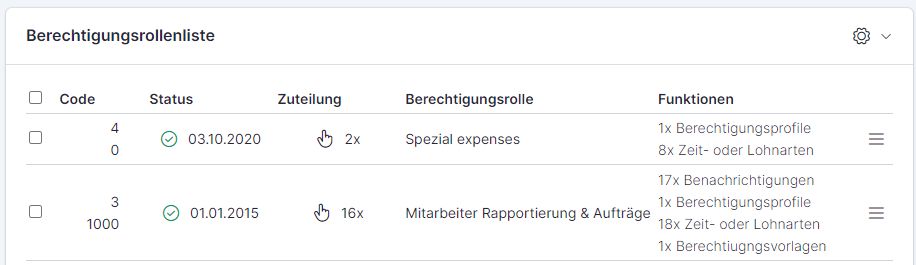
Authorization role list
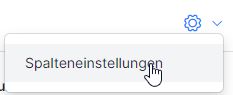
The view of the authorization role list can be set up via the column settings. The column settings can be opened via the gear icon.
Can be displayed:
- Code / Roll number
- Status (active from-to / not active)
- Assignment (manually created – index finger // automatically created – universe icon, …x – how many employees the role is assigned to)
- Name of the authorization role
- Activated functions of the role
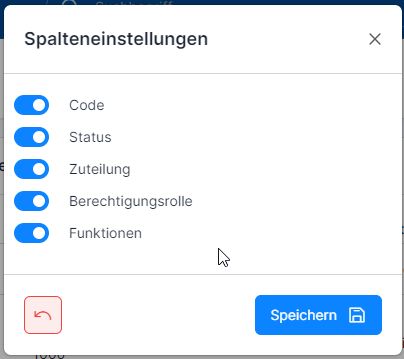
The back arrow resets the settings to default.
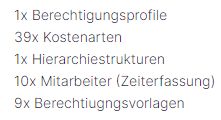
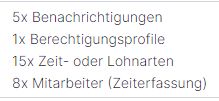
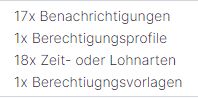
Illustrate activated functions:
- whether and how many notifications are switched on (more about notifications: Notifications)
- whether an authorization profile is activated(access to menu items – via Global settings under Basic data)
- Whether and how many cost elements and hierarchy structures (departments) are active
- whether and how many time and wage types are activated
- whether and for how many employees are the role administrators who can manage time recording / staff scheduling
- Whether and how many authorization templates have been set up
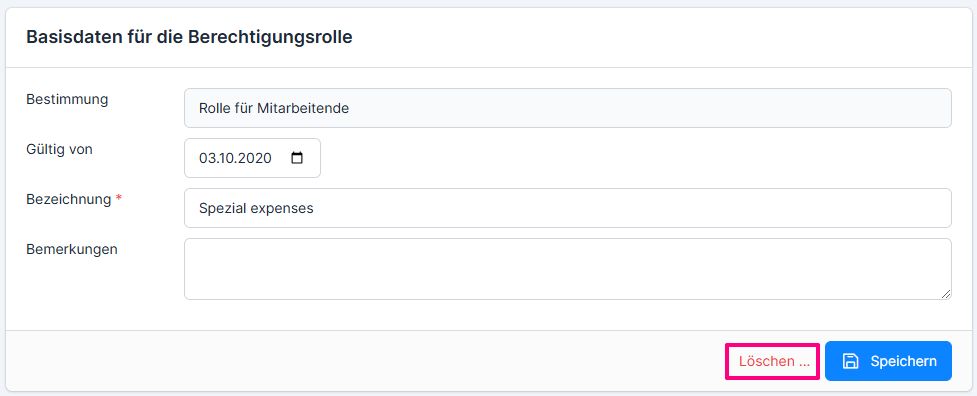
To edit the role, double-click on the role or open it via the three-bar menu on the right → Edit. To delete a role, use the same menu
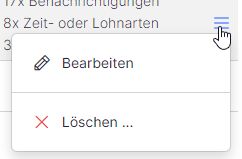
or with the delete button in the role itself.
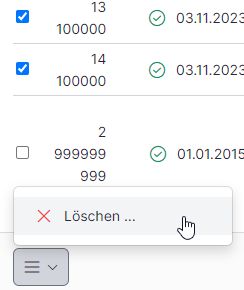
To delete multiple roles, select the roles and click on Delete in the three-bar menu below the list.
A distinction is now made between 3 types of authorization roles:
- for employees
- for suppliers (regulate the authorizations of suppliers)
- for customers (regulate the authorizations of customers)

You can grant access to your system for your customers and suppliers. First of all, create a role for customers or suppliers and define the necessary authorizations for them. Then open the desired customer or supplier address (1), switch to the Properties & assets tab (2) → enter a login /with login and password, a Microsoft or Google account/ (3) → assign the authorization role (4). This allows your customers and suppliers to log in to your ems system and only have access to the data that you have stored in the authorization role.

Record basic data
Click Plus to create a new authorization role.
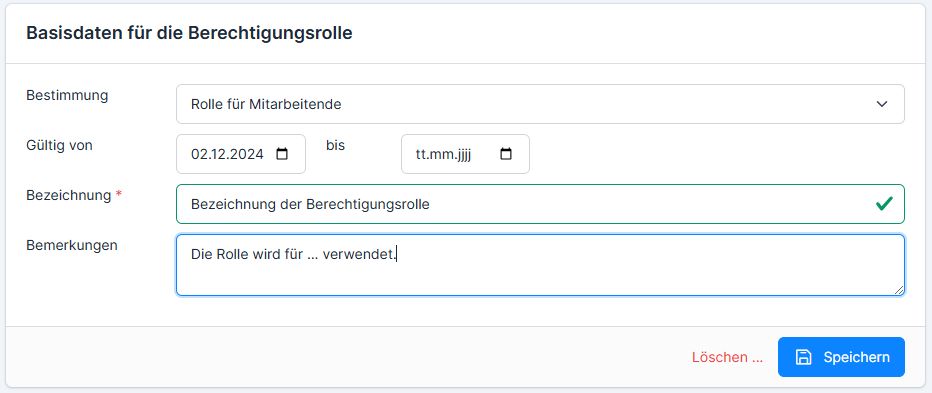
The following data is stored in the basic screen:
- Destination: for employees / customers / suppliers
- Validity of the role: from – to (you can set the validity for a certain period of time, so it is deactivated on the to date)
- Designation of the roll
- Remarks: if the role is stored for certain purposes, a comment can be left here.
Then click on Save. The full screen of the role opens.
You can find out about further steps for the authorization roles for customers and suppliers here: Authorization roles for customers and authorization roles for suppliers
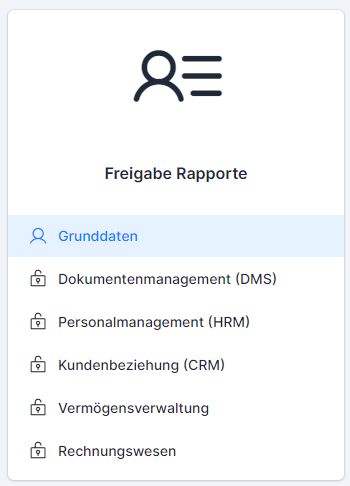
The role consists of 6 tabs (5 tabs correspond to the main blocks of the navigation menu):
- Basic data
- Basic data
- Global settings (administrator rights, access to ems Mobile and/or ems Web; panels on the start page of the web version; error messages for system administrators – data exchange with external systems and data transmission from terminals)
- Assignment of the role to employees
- Document management
- Documents
- Document storage
- Personnel management
- Employee administration
- Personnel deployment planning
- Time recording
- Customer relationship
- Address management
- Offer management
- Sales orders
- Customer orders
- Asset management
- Article management
- Goods logistics
- Warehouse management
- Accounting
- Accounts payable
- Accounts receivable
- Payroll accounting
- Financial accounting
- Management accounting
This section contains the settings for the profile authorizations. Depending on the module, it contains one or more module components (depending on the module). The settings vary depending on the module.
- Access to the menu – the role participant is given access to this menu item
- Enter and edit – the role participant may not only view but also enter new data and edit existing data
- Settings – the role participant can change the parameters of the module
- Unlock /Time recording/ – means that I can still edit an employee who has “only clocked in” as normal. This is necessary for administrators or supervisors.
- Set order completion /customer orders/ – the role participant may complete the customer orders

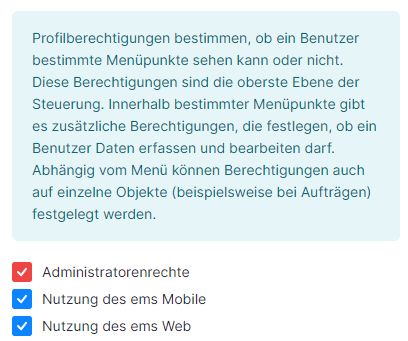
Global settings under Basic data determine the basic settings:
- Administrator rights – such role participants receive extended rights (the highest authorization, for example, logos can be added, or terminals can be connected or deactivated)
- Use of ems Mobile / ems Web
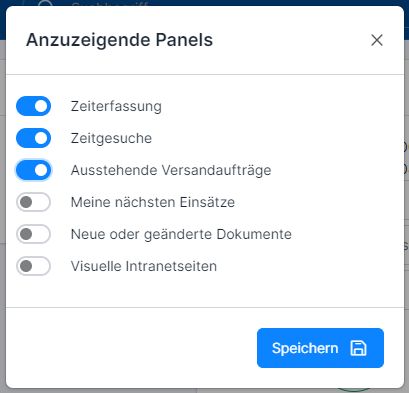
- Activation of the panels on the start page
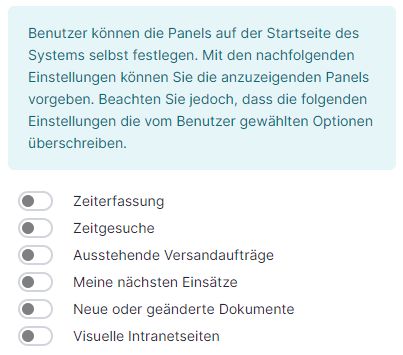
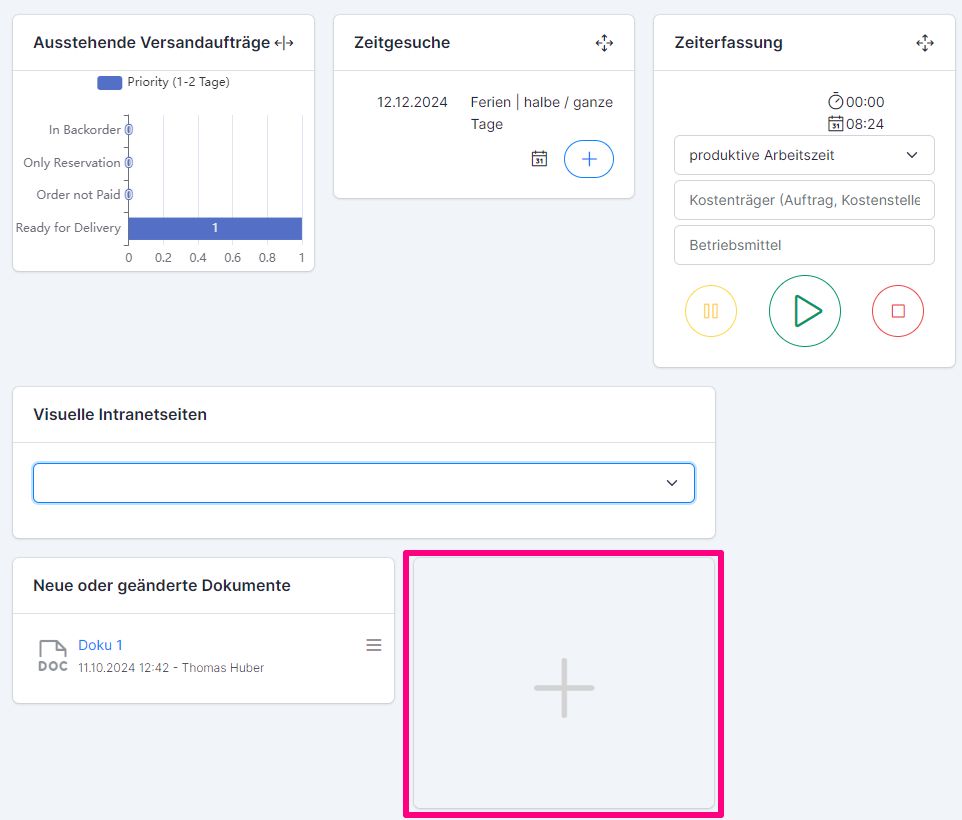
Panels on the home page
Panels to be displayed on the start page can also be added manually: click on Plus and select the required panels. For version X2, read here: Personal layout settings
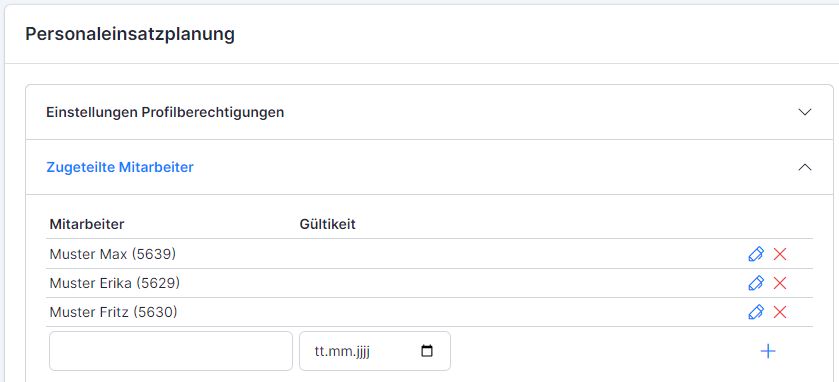
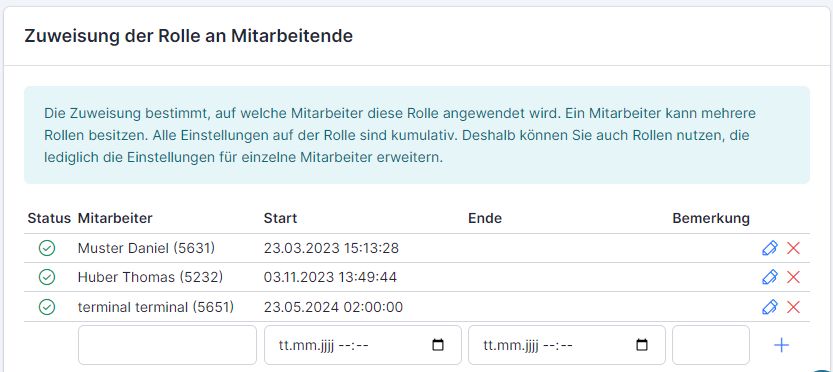
Assignment of the role to employees
An unlimited number of role administrators can be assigned. The name is entered in the empty field and saved with Plus.
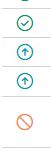
The possible statuses of administrators are: active / reassigned (up arrow) / deleted-inactive:
Assigned employees
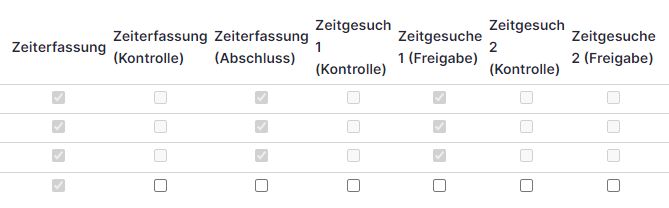
The employees for whose personnel scheduling and time recording the role participants are authorized are recorded under assigned employees.
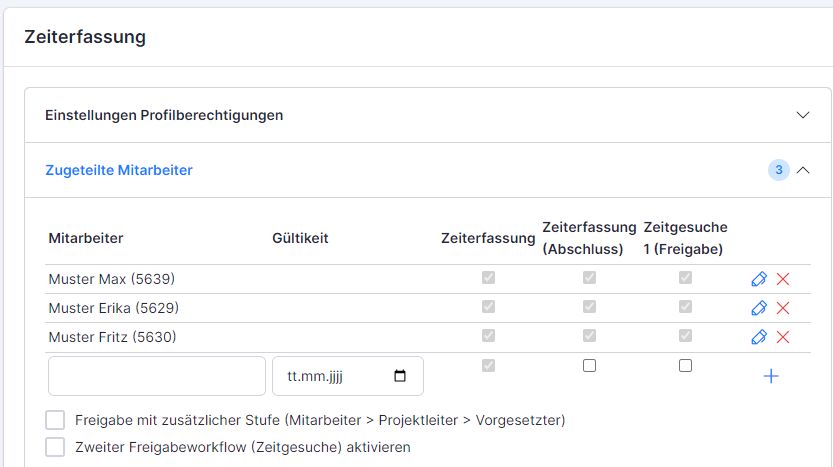
- Time recording column – the role participant is authorized to edit the time recording of this employee
- Time recording (completion) column – the role participant is authorized to complete/release the employee’s time recording report
- Time requests 1 column (release) – the role participant is authorized to release / reject the time requests (vacations, illness, etc.) of the employee
The option Release with additional level enables the intermediate control of the time recording reports by a project manager /Additional control columns Time recording (control) + Time request 1 / 2 (control) are displayed/.
The option Activate second approval workflow (time requests) activates the 2nd group of time requests /an additional column Time requests 2 (control / completion) is displayed/. Time requests 2 can be used if certain types of time can only be confirmed / rejected by the system administrator, head of department or HR officer (e.g. non-work accident). The time types are marked as time requests 1 and 2 under time and compensation types.
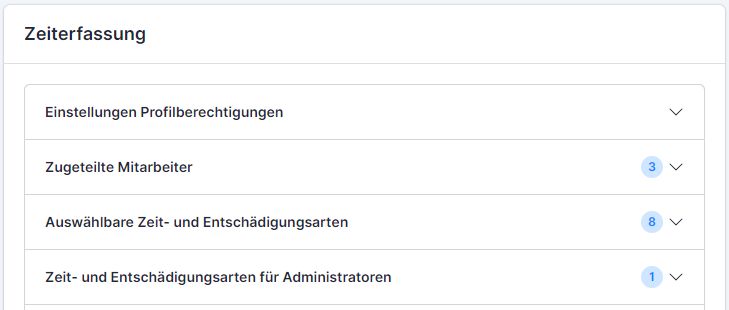
Time and compensation types
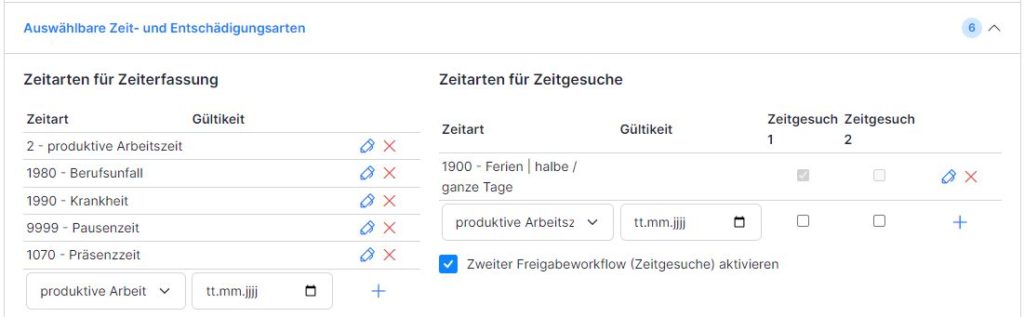
Selectable time and compensation types
These time and compensation types are available to the role administrators in their (own) time recording (for recording or requesting as a request).
The option Activate second approval workflow (time requests) activates the 2nd group of time requests /An additional column Time request 2 is displayed/. Time requests 2 can be used if certain types of time are only to be confirmed/rejected by the system administrator, head of department or HR manager (e.g. /Non)occupational accident, (un)paid absence, etc.). The approval of such time requests must be set accordingly among assigned employees.
The compensation types and their limits are stored under Authorizations for compensation types.
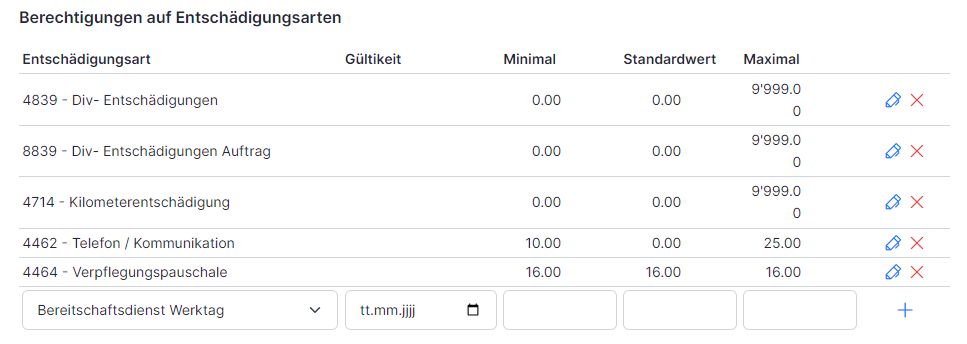
If it is to be a fixed value, then we set the minimum, standard and maximum value to the same value (e.g. 16) and so we have a fixed value. If the employee enters this compensation type, the fixed value is adopted – it will not be possible to change the value.
If the compensation is within certain limits, set the minimum and maximum limits. Only one value from this range is accepted when entering – a warning message appears if an invalid value is entered.
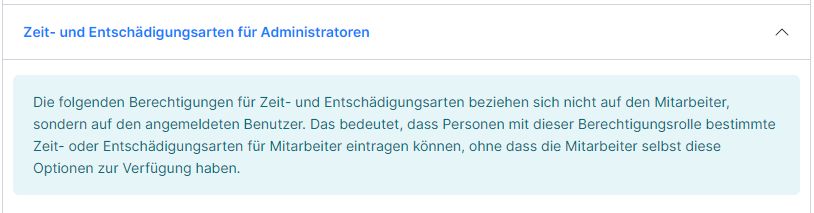
Time and compensation types for administrators
The time and compensation gardens for administrators are those that the role administrators can record for all employees . (These are the time types that the employees are not allowed to enter themselves, only the administrator).
Time types can be blocked for different time recording types (hourly wage, monthly wage, etc.) (e.g. vacation for hourly wage earners and external staff). It is therefore possible that the time type is not visible despite the authorization. Settings for the time types can be found in the Time recording → Settings menu.
Notification settings
Notifications can also be set for the authorization roles. You can read more about this here: Notifications
Authorization templates for new elements
The authorization templates define the set of authorizations for the selected department. The template is used for newly created objects (quotations, sales orders, supplier orders, etc.). Departments for which this template applies are selected in the Organization field.
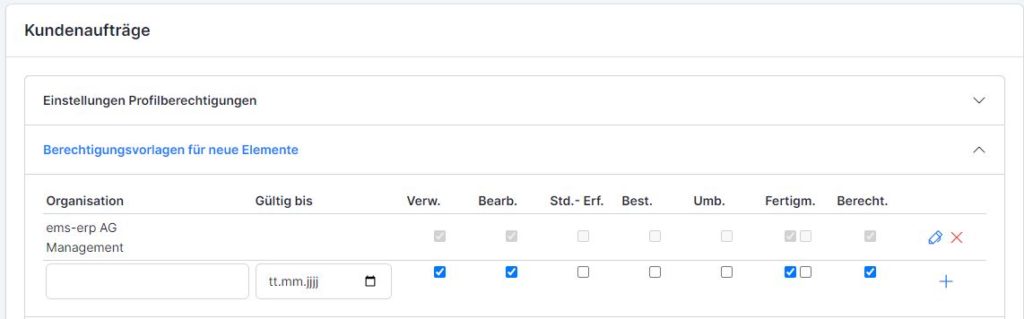
The authorization templates can be set for the modules activated for the customer (possible are quotation management, sales orders, sales orders, supplier orders, merchandise management, operating resources, internal orders, documents).
The checkboxes stand for the following functions:
- Use – use
- Edit – edit
- Record hours – Record hours
- Best. – Trigger orders
- Umb. – Carry out rebookings
- Completed – Finish notification
If, for example, a new sales order is created by the specified department, the selected authorizations are added to this sales order.
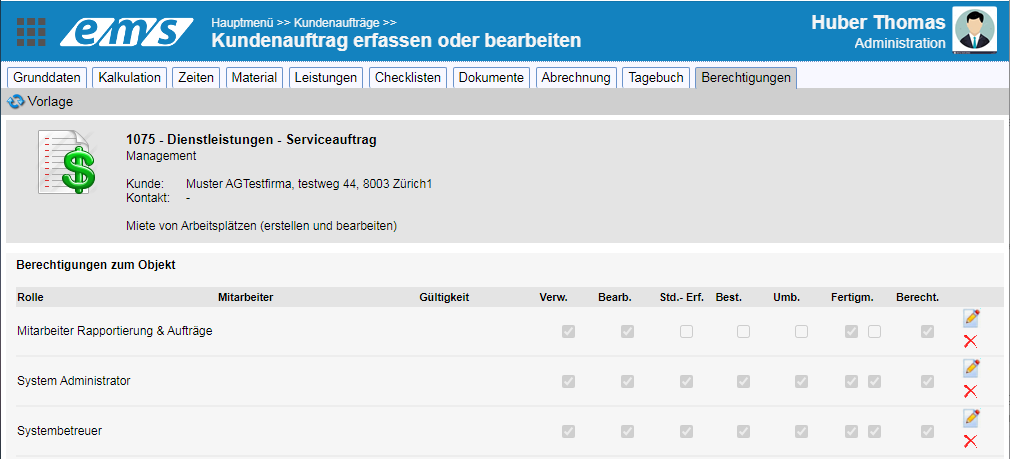
For the object (sales order, quotation, etc.), the assigned authorizations can be viewed in the Authorizations tab.
Archive data access and evaluations
To give role administrators access to archived (completed or no longer valid) data and evaluations, archive data access and evaluations must be activated in the relevant section. A to date can be specified; if nothing is specified, 31.12.2099 is automatically set.

Letters and numbers for activated functions
Activated functions are illustrated with a letter or a number in the respective section:
- A – Administrator rights
- M – Access to ems Mobile
- W – Access to ems Web
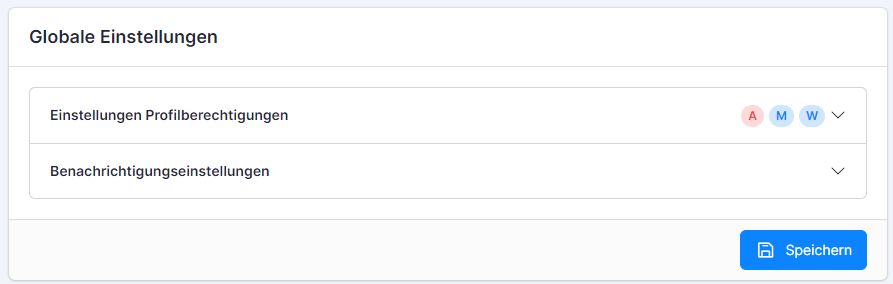
- Number of assigned employees, time and compensation types
A distinction is made between 2 types of authorization roles:
- Manually set roles (marked with the index finger symbol in the overview)

- automatically set roles (with the remark “Auto-Add” and a lock in the employee profile and a universe icon in the overview; are automatically assigned after the profile is created overnight or when the maintenance job interface is executed) – the employees of an auto-role must not be added manually – they are automatically activated by the system according to the department and function of the employee at night after the profile is created. The automatically created roles can be used to store the authorizations for employees of certain superiors, with certain functions and from desired departments.


The open role also contains a note that it was created automatically.
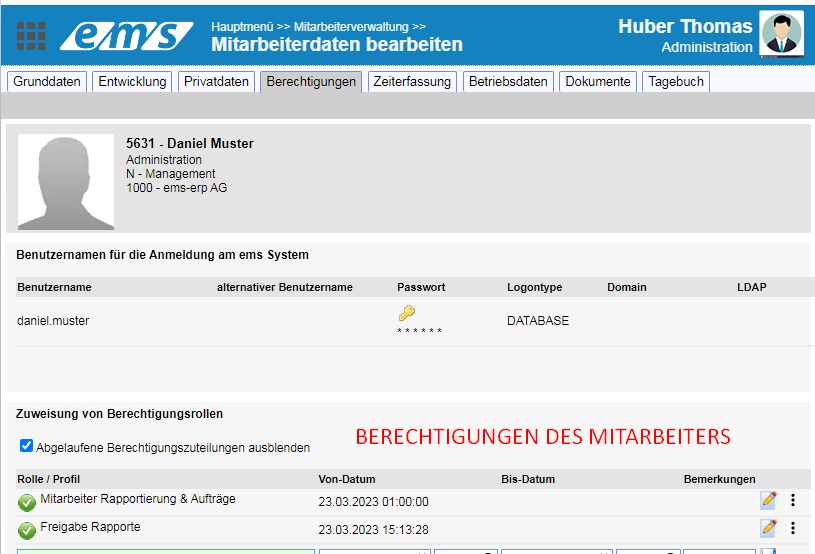
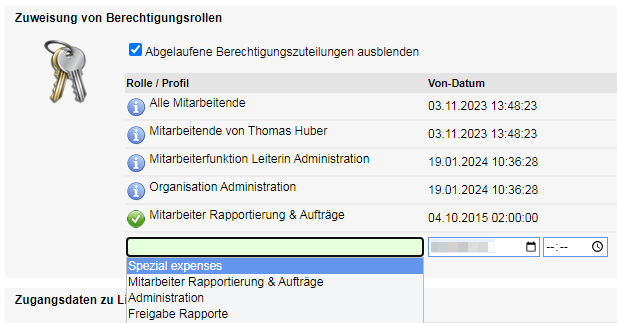
Assigned (“active”) authorizations of the employee can be seen under Employee administration → Mutate employee profile → “Authorizations” tab.
To check and edit the assigned authorization roles, open the roles by clicking on the three dots on the right → Edit authorization role.
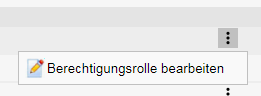
This allows you to access the role and view which modules and functions are accessible for the role.
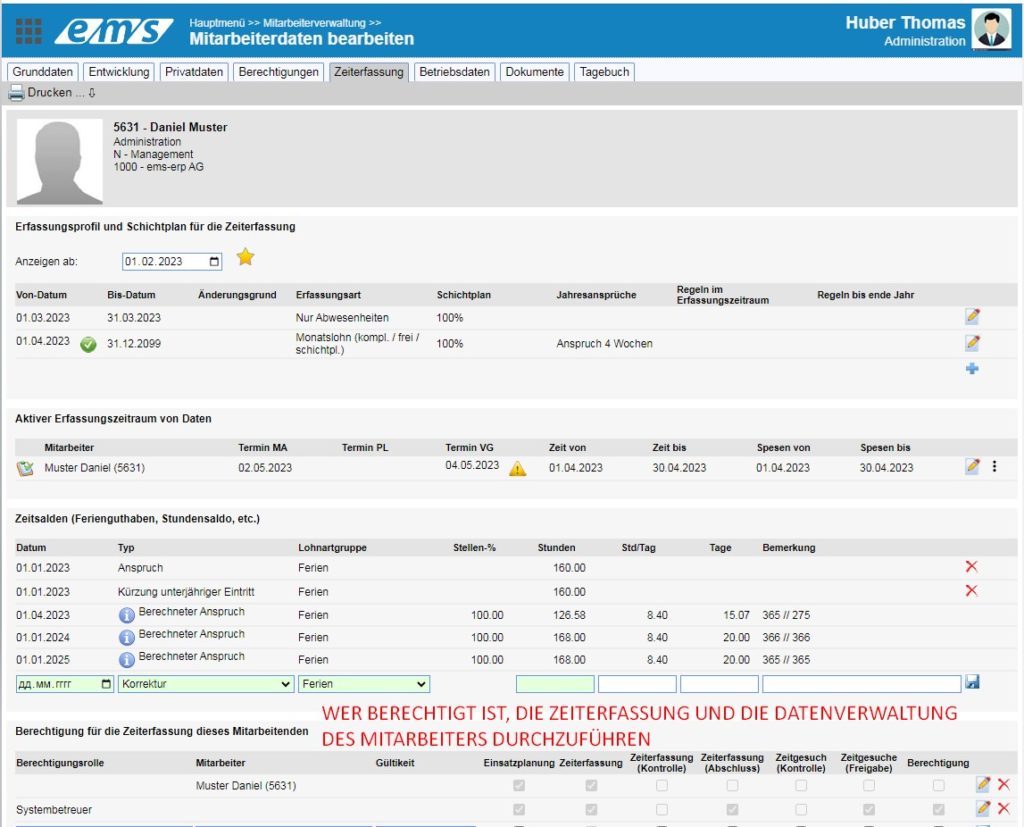
(“Passive”) authorizations for the employee’s time recording and data management can be found under Employee management → Mutate employee profile → “Time recording” tab → below.
The role authorizations are cumulative in most cases. This means that if I have access to the sickness time type in group/role A and to vacation in group/role B, I can access both in the end.
BUT please note that personal authorizations have priority over authorization roles. (i.e. persons from the Employees column have priority over the authorization roles)
For example, if Thomas Huber has a personal authorization and a role authorization as a system administrator for the time recording of an employee, the settings of the personal authorization count. In this case, he can only record the time for the employee, but has no access to the employee’s shift planning or to the release of reports and time requests (which he is allowed to do as a system administrator). To change this, the personal authorization must be deleted.

Active authorizations are either stored in the role (recommended)
or assigned in the employee profile.
Passive authorizations are either defined in the corresponding role (with desired administrators) → Personnel management → Time recording → Assigned employees

or assigned and set in the employee profile of the employee to be managed in the Time recording tab.

The setting of the passive authorization includes:
- Shift planning (whether the employee can be scheduled in workforce planning);
- Time recording (whether the time for this employee may be recorded);
- Time recording (control/completion) (whether the employee’s time recording /by the project manager – optional/ (interim) control and /by the supervisor/ may be completed);
- Time requests (control/completion) (whether the employee’s time requests /may be (intermediately) controlled by the project manager – optional/ and /completed by the supervisor/).
Passive authorizations are assigned to a role or a person. In the case of the role, all participants in the role are authorized to use selected functions in relation to this MA. If the authorization is granted to individual persons, this is a private authorization that has priority over the role authorization.