The new X3 web layout makes managing supplier addresses easier and more intuitive. The data has been restructured and can be easily filtered and sorted.
Supplier list #
Address overview #
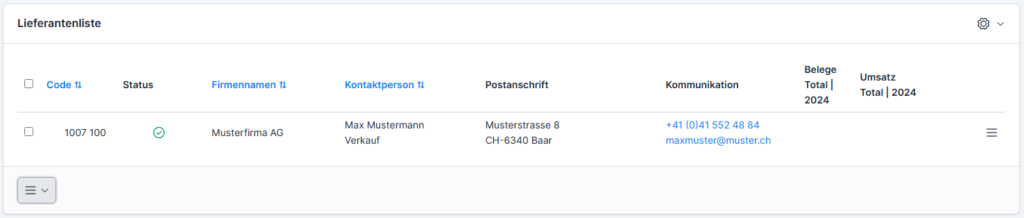
The supplier list contains the following columns: Code (supplier number), status (green tick – active, red cross – deleted), company name, contact person, postal address, communication details, receipts and turnover in the current financial year.
Configure columns #
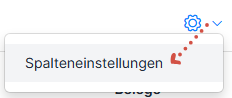
You can show and hide the columns depending on what information you need or if the screen is not large enough. This is done using the cogwheel symbol at the top right.
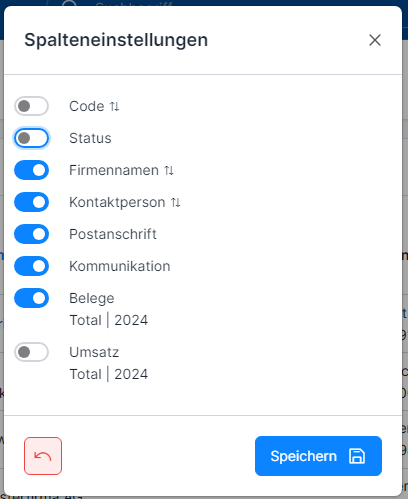
Activate or deactivate the columns as you wish and click on Save. Click on the red back arrow to reset the column settings to default.
Sort addresses alphabetically #
It is possible to sort the addresses according to the codes as well as the names of customers and contact persons. To do this, click on the 2 arrows symbol to the right of the column name.
Reference numbers / codes #
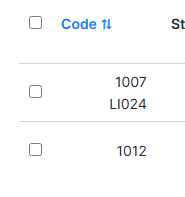
The ems (system) internal number is assigned automatically on an ongoing basis. However, additional external reference numbers can be specified. Both codes are displayed in the Code column.
Two additional external numbers/codes can be stored as reference numbers: any values can be entered in both fields. By default, only one field is displayed for the reference number.

The 2nd reference number can be activated in the settings.
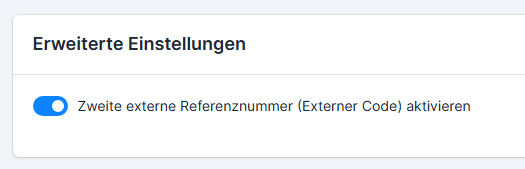
The search for the 2nd reference number is only possible if it is activated.
The 1st reference number is displayed in the address overview in addition to the internal system number.
Highlight addresses in color #
Addresses can be color-coded for easier searching and orientation. The color coding is done in the address.

Search and filter supplier addresses #
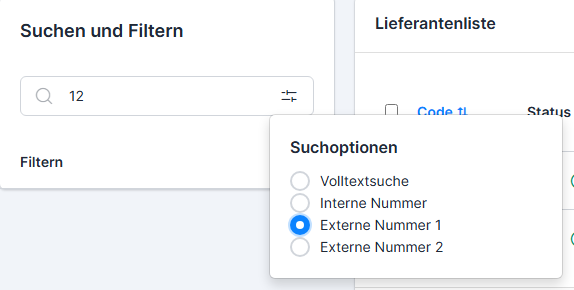
The search is based on the full text by default. If you want to search by (internal or external) number, limit the search using the corresponding option in the search options.
Filters can also be applied: by properties and relationship type.
Deleted suppliers #
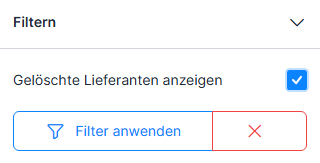
Normally, only active addresses are displayed. If you want to display the deleted/deactivated addresses, select the Show deleted suppliers filter option and then click on Apply filter.
Deleting and restoring addresses #
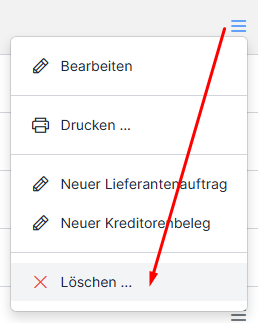
The addresses can be deleted. This is done via the three-bar menu to the right of the contact and under the list for deleting selected addresses. The address is not deleted, but only marked as inactive and does not appear in the normal search.
If a deleted/deactivated address needs to be reactivated, use the Restore option in the menu to the right of the contact. To display the deleted/deactivated addresses, activate the Show deleted suppliers filter option.

Create and edit supplier address #
Read here how to enter and edit a supplier address and what data it can contain: Entering and editing a supplier address
Copy supplier address #
You can find out how to copy a supplier address here: Copy supplier address
Printing evaluations #
You can use one of the following options to print reports:
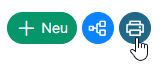
- Printer symbol above the supplier list (collective evaluation)
- Printer symbol in the contact menu to the right of the contact (individual evaluation)
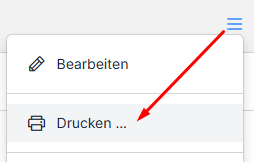
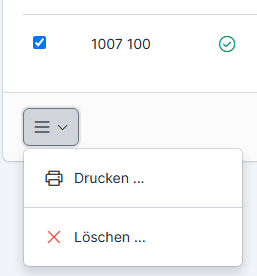
- Printer symbol under the supplier list for several selected contacts
Open / edit supplier address #
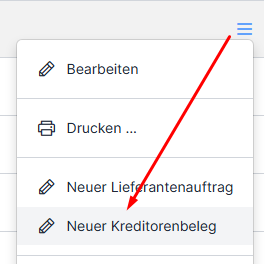
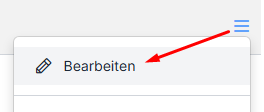
To open or edit the supplier address, double-click on the contact line or click on Edit in the contact menu to the right of the contact (can be displayed via the three-bar menu).
Enter new supplier order / new purchase order #
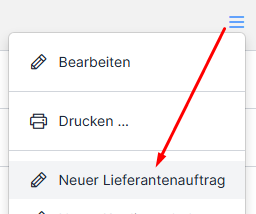
A new supplier order (purchase order) can be created via the corresponding menu item in the contact menu.
Enter new vendor document #
If you would like to enter an accounts payable invoice, you can quickly initiate this via the corresponding menu item in the contact menu.